XrmToolBox is able to connect to any kind of deployment from Microsoft Dynamics CRM 2011 to Microsoft Dynamics 365 Customer Engement (also known as "CRM 9.0"), wether it is by using the proposed connection wizard or using connection string.
A connection is generally required to use plugins Inside XrmToolBox. If you open a plugin and a connection is not yet available, XrmToolBox asks you to connect to an organization but you can decide to connect to an organization on demand (by clicking on the "Connect" button or using the bottom left connection control).

Before being able to connect to an organization, you need to create a new connection. This is achieved by clicking on button "New connection" on the connection selection dialog.
On the first page of the wizard, fill the Organization url with the address of your organization. You can simply copy/paste the url from your favorite browser address bar. If you are connecting to an OnPremise deployment, you can choose to connect using your current credentials.
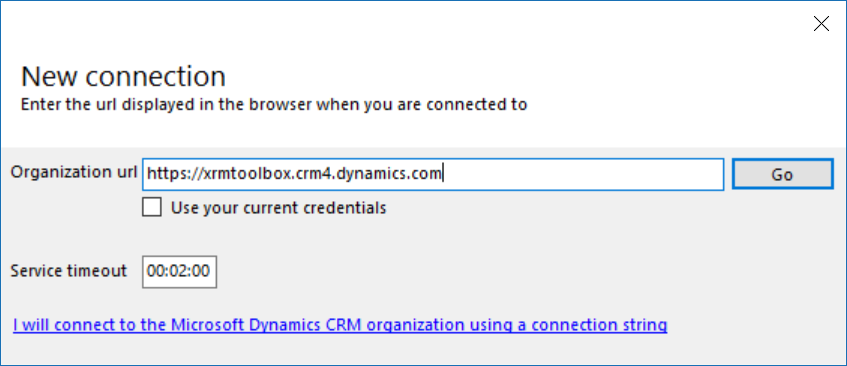
If you receive TimeoutException error when using some plugins, do not forget to set the timeout to a larger value than the default. This is particularly true for plugins that execute long running operations such as solution import.
(Optional) If you defined an url with the format https://organization.domain.extension, the next wizard page ask you to confirm if the deployment is configured for Internet Facing Deployment. If you set the answer to yes, you can define an home realm url (if needed).
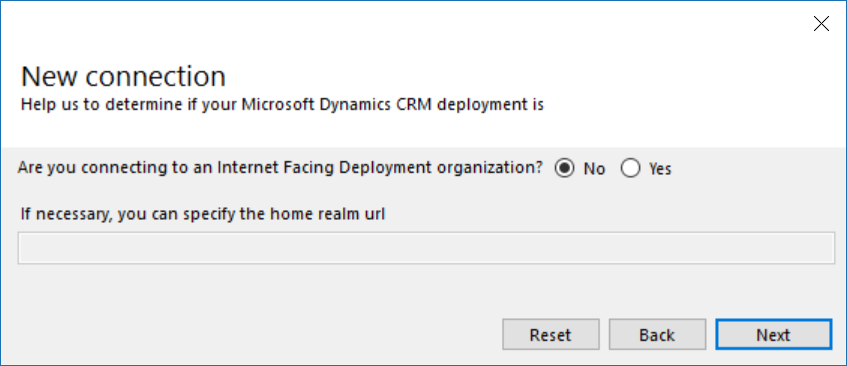
If you did not tick the checkbox to use your current credentials, the wizard page below appears next. It allows to define the credentials to use.
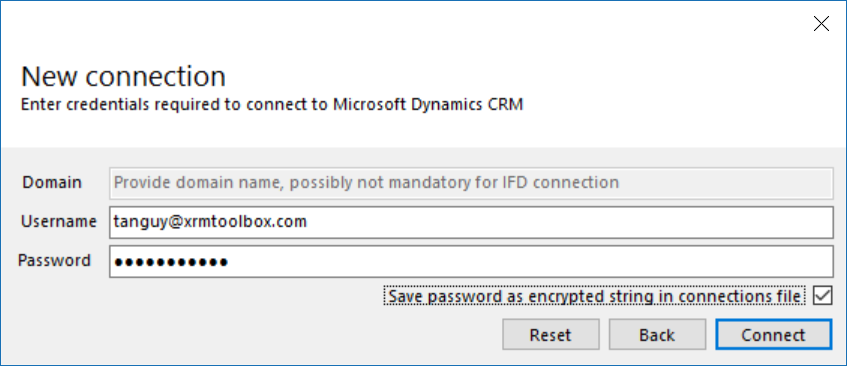
If you don't tick the checkbox "Save pasword as encrypted string in connection file", you will be prompted for the password each time you try to connect using this connection.
Passwords are encrypted in the connections files. The encryption keys are available to anyone thus it is not a perfect secured solution but at least, it avoids having clear text password in a file.
On next page, the wizard tries to connect to the organization
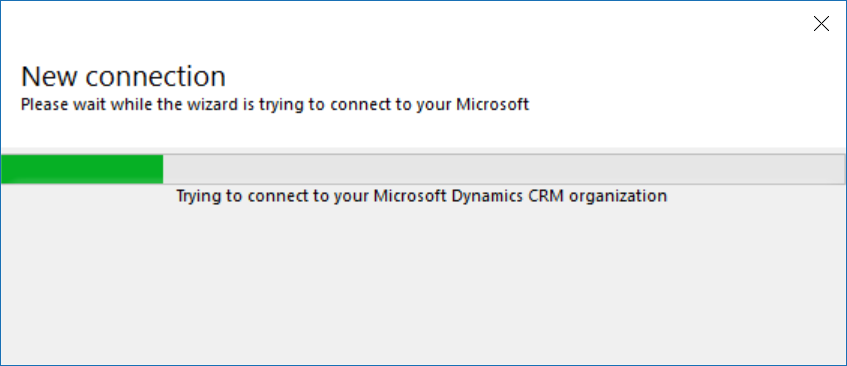
If the wizard cannot succeed to connect to your organization, there is no explicit error message. To get one, you need to review the connection logs. They are accessible through the link displayed in the wizard to open the logs folder.
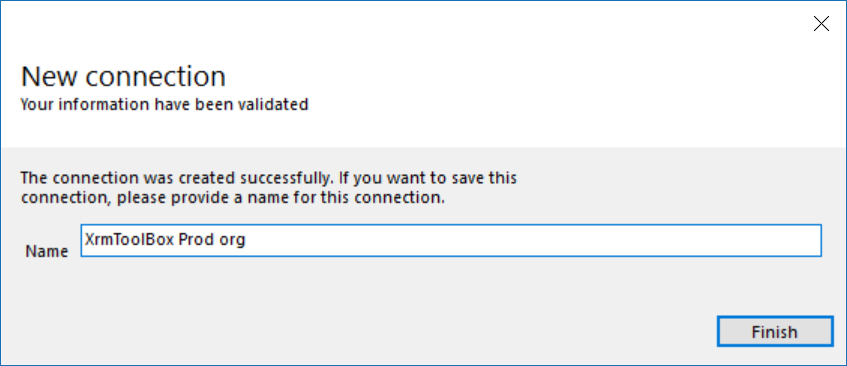
When the connection succeeds, you have the possibility to define a name for this connection. If you do not define a name, the connection is still usable but is not saved for future usage.
Before being able to connect to an organization, you need to create a new connection. This is achieved by clicking on button "New connection" on the connection selection dialog.
A connection string is required to connect to a kind of deployment not handled by the connection wizard. For example, connecting to a Dynamics 365 Customer Engagement Online organization with mutli factor authentication is not possible through the connection wizard. Proposing to connect with a connection string ensures that all scenarii of connection are handled.
To understand whate are connection string and how to create one, please read the article Use connection strings in XRM tooling to connect to Dynamics 365 on MSDN.
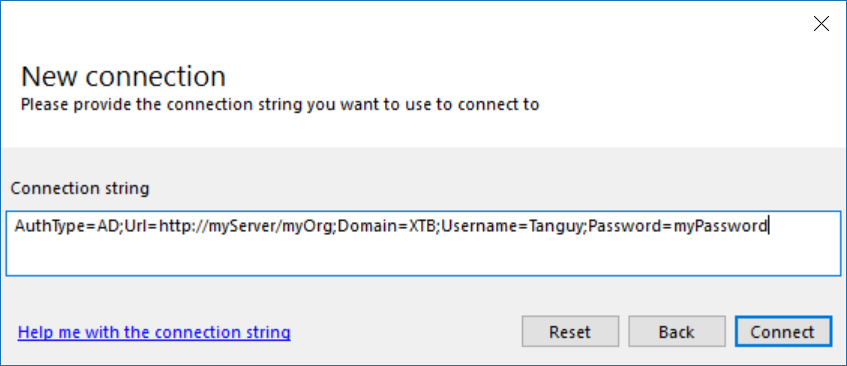
To connect using a connection string, on the first page of the wizard, click on the link I will connect to the Microsoft Dynamics organization using a connection string
Then type or paste your connection string in the textbox
Currently, the only way to connect to such organization is to use a connection string.
The format of the connection string is the following
AuthType=OAuth;Username=login@company.com;Password=your_password;Url=https://organizationname.crm.dynamics.com;AppId=bc7e0048-9516-4ba3-81c7-540d48d6bc71;RedirectUri=https://someurl;TokenCacheStorePath =c:\\Temp\\Oauth\\cache.txt;LoginPrompt=Always
As you can see, there is two special parameters that need to be filled:
- AppId : The id of an Azure AD application
- RedirectUri : The redirect Uri of an Azure AD application
To create an Azure AD application that can connect to Dynamics 365 CE organization, please follow this tutorial


